Table of Contents
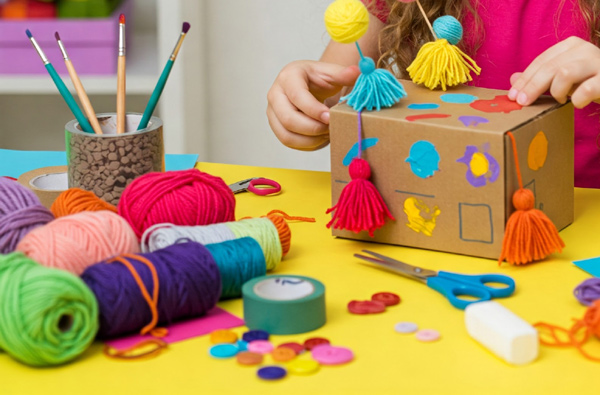
Let’s face it: kids love toys. But those store-bought playthings can be expensive, and sometimes, they lack the personal touch. Why not tap into your inner creator and craft some amazing DIY toys right at home? It’s a fantastic way to bond with your little ones, recycle materials, and spark their imaginations.
This blog will guide you through some easy and engaging DIY toy projects you can tackle with minimal supplies and maximum fun!
Why DIY Toys?
- Cost-Effective: Save money by repurposing household items.
- Personalization: Tailor toys to your child’s interests and developmental stage.
- Creative Development: Encourage imagination and problem-solving skills.
- Quality Time: Bond with your kids during the crafting process.
- Sustainability: Reduce waste by giving materials a second life.

Easy DIY Toy Ideas:
1. Sock Puppets:
- Materials: Old socks, buttons, yarn, felt, glue (or needle and thread), markers.
- Instructions:
- Slip a sock over your hand.
- Use buttons or felt for eyes, yarn for hair, and felt for a mouth.
- Glue or sew the features onto the sock.
- Add details with markers.
- Now, you have a puppet ready for storytelling!
2. Cardboard Box Fort:
- Materials: Large cardboard boxes, tape, scissors, markers, optional: fabric scraps, string, lights.
- Instructions:
- Gather large cardboard boxes (appliance boxes are ideal).
- Tape the boxes together to create a fort structure.
- Cut out windows and a door.
- Decorate the fort with markers, paint, or fabric scraps.
- Add string lights for a cozy atmosphere.
- This is a classic that will entertain children for hours.
3. Homemade Play Dough:
- Materials: 1 cup flour, 1/2 cup salt, 2 tablespoons cream of tartar, 1 cup water, 2 tablespoons vegetable oil, food coloring (optional).
- Instructions:
- Combine flour, salt, and cream of tartar in a saucepan.
- Add water and oil.
- Cook over medium heat, stirring constantly, until the dough forms a ball.
- Remove from heat and let it cool.
- Knead the dough until smooth.
- Add food coloring as desired.
- Store in an airtight container.
4. DIY Sensory Bottles:
- Materials: Plastic bottles, water, glitter, small toys, beads, oil, food coloring.
- Instructions:
- Clean and dry plastic bottles.
- Fill the bottles with water, glitter, and other small items.
- Add oil to create interesting visual effects.
- Secure the lids tightly (you can glue them shut).
- These bottles provide visual and tactile stimulation for young children.
5. Paper Plate Masks:
- Materials: Paper plates, scissors, markers, paint, elastic string or popsicle sticks.
- Instructions:
- Cut out eye holes in the paper plates.
- Decorate the plates with markers, paint, or other craft supplies.
- Attach elastic string or popsicle sticks to the sides for wearing.
- Create animal masks, superhero masks, or anything your child imagines.
Tips for DIY Toy Making:
- Safety First: Use non-toxic materials and supervise children during crafting.
- Recycle and Reuse: Look for materials around your house that can be repurposed.
- Involve Your Kids: Let them participate in the process to enhance their creativity.
- Keep it Simple: Don’t feel pressured to create elaborate toys. Simple designs can be just as fun.
- Embrace Imperfection: DIY toys are meant to be unique and handmade.
Beyond the Basics:
- Explore online resources for more DIY toy ideas.
- Experiment with different materials and techniques.
- Encourage your children to design their own toys.
DIY toy making is a rewarding experience that benefits both you and your children. It’s a chance to create lasting memories while fostering creativity and imagination. So, gather your supplies, unleash your inner artist, and let the fun begin!
