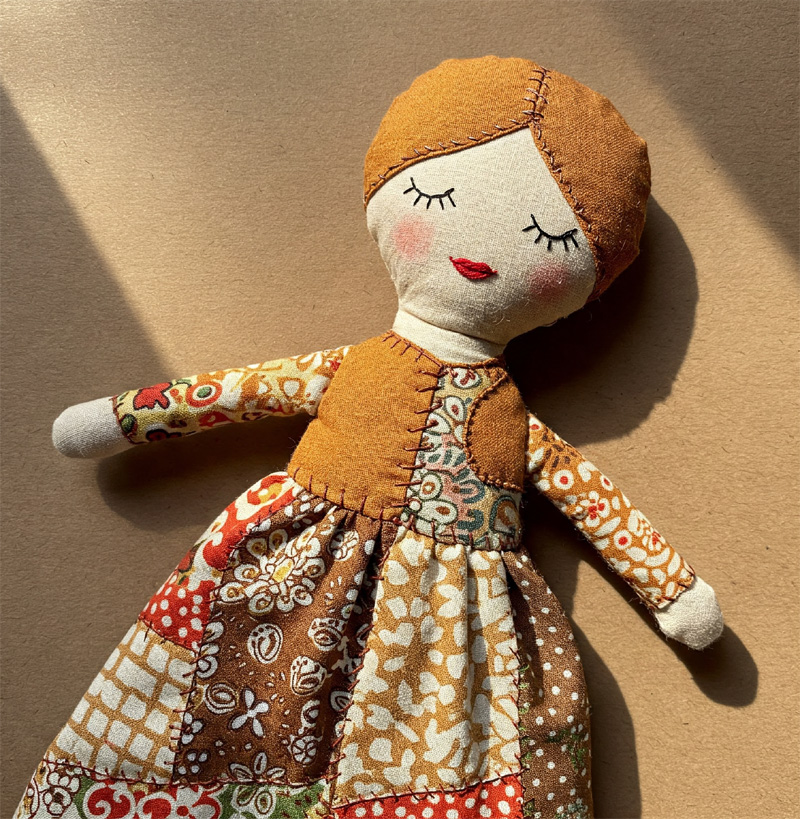
Creating a cloth doll is a fun and creative process that involves cutting, sewing, and assembling fabric pieces. Here’s a step-by-step guide to making a doll:
Step 1: Gather Materials
- Cotton or felt fabric (for the body)
- Thread and needle (or sewing machine)
- Scissors
- Stuffing (cotton, polyester fiberfill, or wool)
- Fabric markers, embroidery floss, or buttons (for facial details)
- Pins to hold fabric in place
Step 2: Design & Cut the Fabric
- Draw a Pattern: Sketch the shape of the doll on paper (body, arms, legs, and head).
- Cut Fabric Pieces: Place the pattern on fabric and cut out two identical pieces for each body part.
Step 3: Sew the Doll Together
- Stitch the Pieces: Sew the body pieces together, leaving a small opening for stuffing.
- Turn Inside Out: Flip the fabric inside out to hide the stitches.
- Stuff the Doll: Fill the body with stuffing to give it shape.
- Close the Opening: Sew the open part shut securely.
Step 4: Attach Features
- Sew on the Limbs: Attach the arms and legs to the body.
- Create the Face: Use embroidery floss to stitch eyes, a mouth, or a nose. You can also use fabric paint or buttons.

